This post contains affiliate links. If you make a purchase through links on our site, I may earn a small commission. Click to see full details of my Privacy Policy.
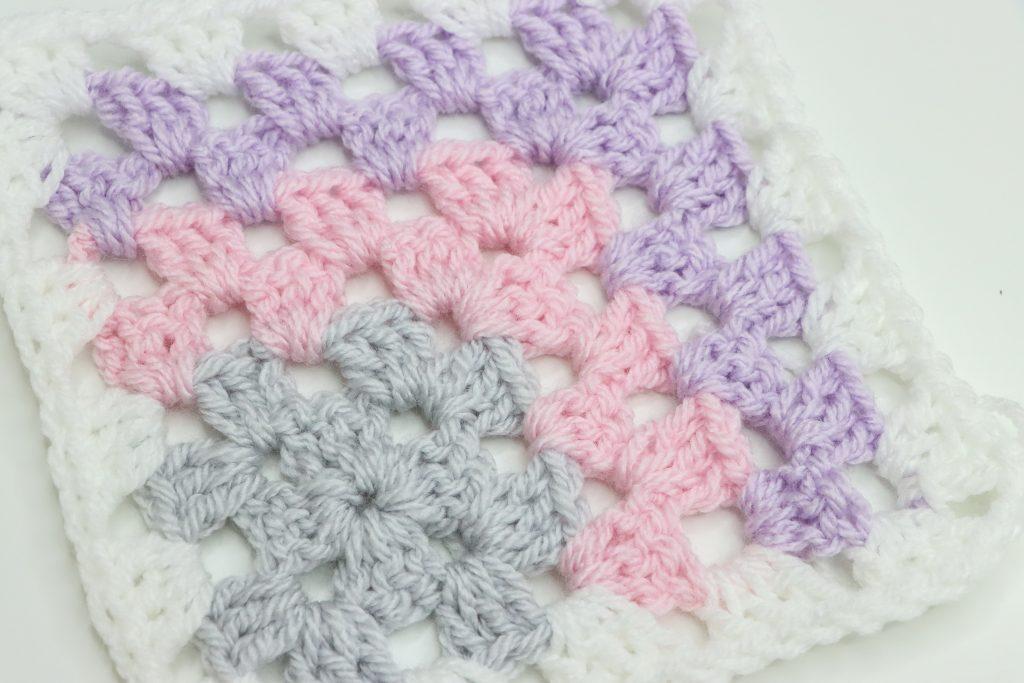
Learn how to crochet a Mitered Granny Square. I personally love this abstract granny square. You can play with perspectives in pastels or brights with this fun little crochet square and create a beautiful blanket or cushion.
 Mitered Granny Square
What Will I Learn?
In this blog, you will learn how to crochet a Mitered granny square with my free pattern and video tutorial. I’ll take you through all the materials and tools you will need and which stitches you’ll need to know how to crochet the mitered granny square design.
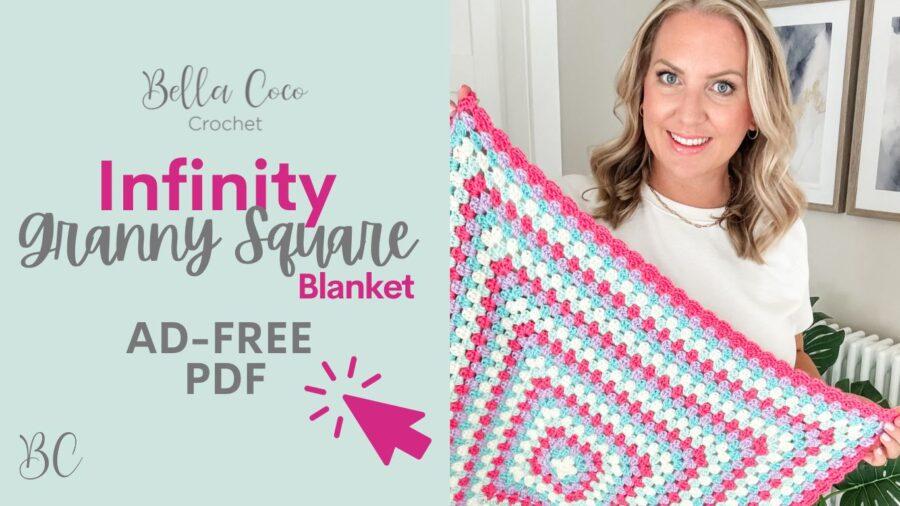 Infinity Granny Square Crochet Blanket
Here’s what I used in the video tutorial but feel free to switch up the yarn and the hook to get a different look!

Convert Pattern Terms
Here you can quickly switch between UK and US crochet terms. This will make following the pattern easier as all terms will be converted to your preferred version.
Terms & abbreviations
Chain (ch): Yarn over, pull through.
Treble Crochet(s): tr(s): Yarn over, insert into stitch, yarn over, pull up a loop, you will have three loops on the hook. Yarn over, pull through two loops, yarn over, pull through remaining two loops.
Slip stitch (sl-st): Insert hook, yarn over, pull through both stitch and loop on hook.
Stitch(es) (st/s)
Pattern notes
- Written in UK terms but switchable to US crochet terms above.
- Video tutorials in both right and left-handed versions can be found at the base of this post.
 How to Crochet – A Handy Reference Guide eBook
 Unsure of the differences between UK and US terms? Need a refresher on how to do your crochet stitches? In my ‘How to crochet: A handy reference guide’ EBook I help you with all of these terms and you can always have them to hand! You will also get exclusive access to free video instructions. You can find my EBook HERE.
Pattern Support
The fastest way to get pattern support is to ask in our dedicated facebook group for Bella Coco Crochet patterns. This is the best place for you to connect with other crocheters.
Please note, if you wish to change and adapt this pattern in any way, this must be done at your own exploration and we cannot offer assistance with this.
Pin for later
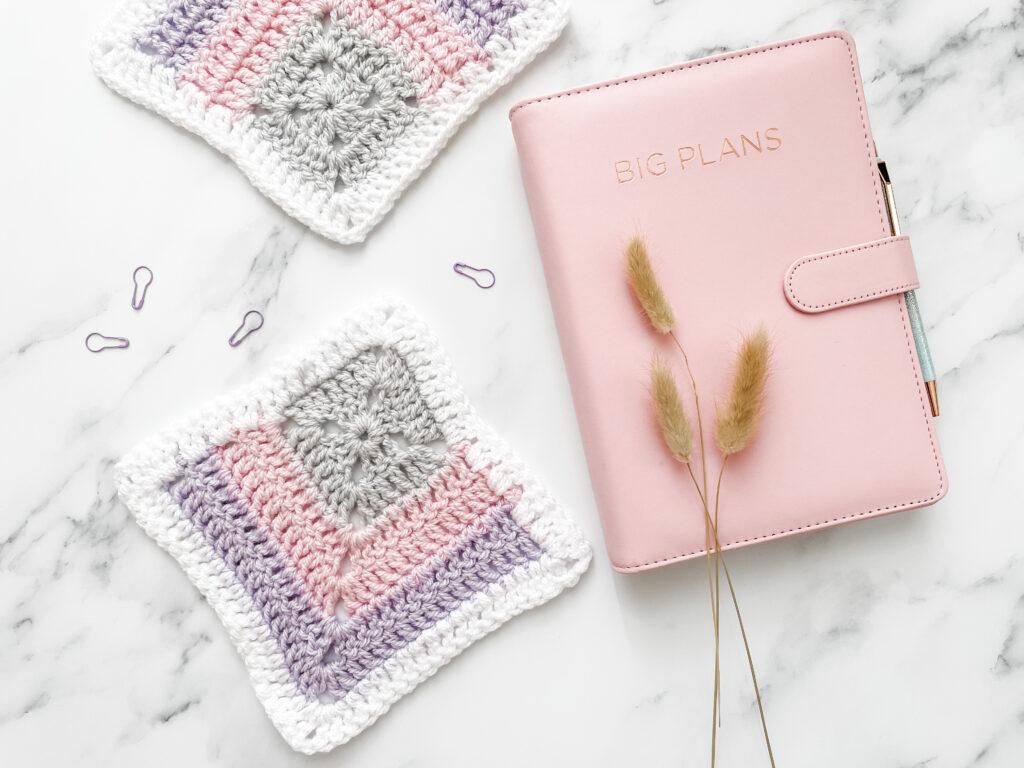
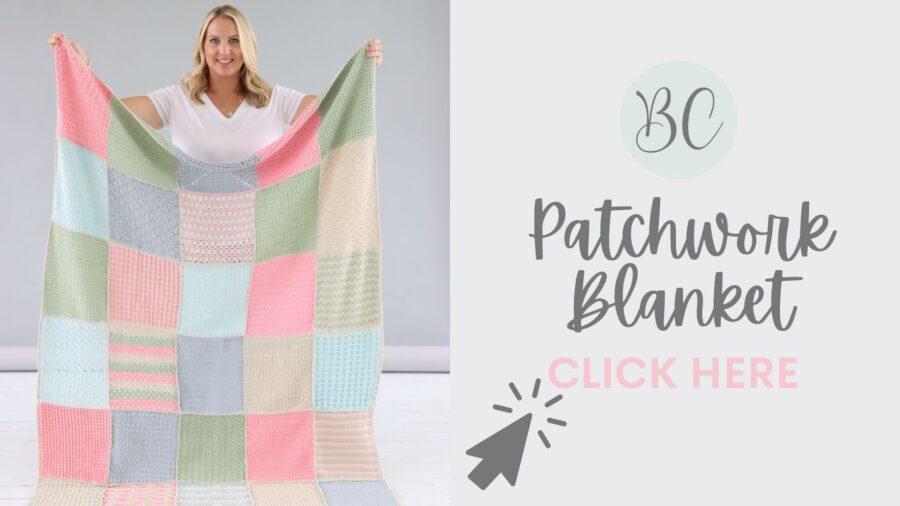 Patchwork Blanket
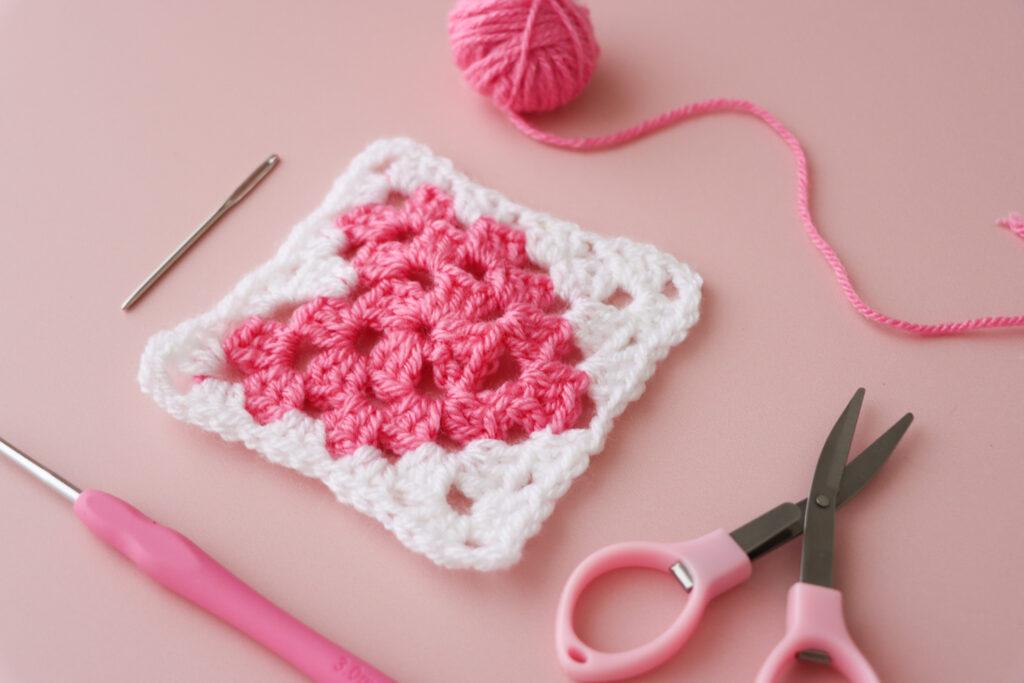
mitered granny square: FREE pattern
You are viewing this pattern in UK terms.
- Chain 3 and then join with a ss into 1st ch to make a circle. Alternatively, you could use a magic circle.
- Round 1 (RS): Using Colour A. Ch 3 (Counts as tr here and throughout). Working into the centre circle, work 2 tr, ch 2. (3 tr, ch 2) three times. Join to the top of ch-3 with a ss. Turn.
- Round 2 (WS): Ch 3, 2 tr into ch-2 sp, ch1 *(3 tr, ch 2, 3 tr, ch 1) into next ch-2 sp; repeat from * two more times. 3 tr, ch 2 into next ch-2 sp. Join to top of ch-3 with a ss and then tie off.
- Mitre Row 1 (RS): Join Colour B into any corner sp with right side facing. Ch 3, 2 tr into same ch-2 sp. Ch 1, (3 tr, ch 1) into next ch-1 sp. (3 tr, ch 2, 3 tr, ch 1) into ch-2 corner sp. (3 tr, ch 1) in next ch-sp, 3 tr in next corner sp and then turn.
- Mitre Row 2: Ch 4 (counts as tr plus ch 1), (3 tr, ch 1) into each ch-sp to corner. (3 tr, ch 2, 3 tr, ch 1) into ch-2 corner sp. (3 tr, ch 1) into next 2 ch-sps. Tr in top of ch-3 from previous row. Tie off and then turn.
Mitered Corner Granny Square
3-finish
You are viewing this pattern in UK terms.
- Mitre Row 3 (RS): Join Colour C into end ch-sp from previous row. Ch 3, 2 tr in same sp, ch 1. (3 tr, ch 1) in each ch-1 sp to ch-2 corner sp. (3 tr, ch 2, 3 tr, ch 1) into ch-2 corner sp. (3 tr, ch 1) in each ch-1 sp to end of mitre row, 3 tr in ch-4 sp. Turn.
- Mitre Row 4: Ch 4 (counts as tr plus ch 1), (3 tr, ch 1) into each ch-1 sp to next ch-2 corner sp. (3 tr, ch 2, 3 tr, ch 1) into ch-2 corner sp. (3 tr, ch 1) into each ch-1 sp to end of mitre row. Tr into top of ch-3 from previous row. Tie off.
- Continue to repeat Mitre rows 3-4 changing colours every 2 rounds if you wish to make your square bigger.
- Border Round: With right side facing. Attach Colour D into any corner space. Ch 3, 2 tr, in same sp. Ch1, *(3 tr, ch 1) into each ch-1 sp to ch-2 corner sp, (3 tr, ch 2, 3 tr, ch 1) into ch-2 corner sp. Repeat from * around working 3 tr in beginning corner sp, ch 2, join in top of ch-3 with a ss. Tie off.
- Sew in ends.

Video tutorials
Right-Handed
[adthrive-in-post-video-player video-id=”WuvzQAbl” upload-date=”2025-04-22T14:42:29+00:00″ name=”HOW TO CROCHET A MITERED GRANNY SQUARE | Bella Coco Crochet.mp4″ description=”null” player-type=”default” override-embed=”default”]
Or you can watch on YouTube
Left-Handed
[adthrive-in-post-video-player video-id=”QG30uTQq” upload-date=”2025-04-22T14:38:11+00:00″ name=”LEFT HANDED CROCHET_ MITERED GRANNY SQUARE | Bella Coco Crochet.mp4″ description=”null” player-type=”default” override-embed=”default”]
Or you can watch on YouTube
Granny Square Patterns
Are you ready to try another granny sqaure design? CLICK HERE for more or check out some of my suggestions below:
 Heart Granny Square
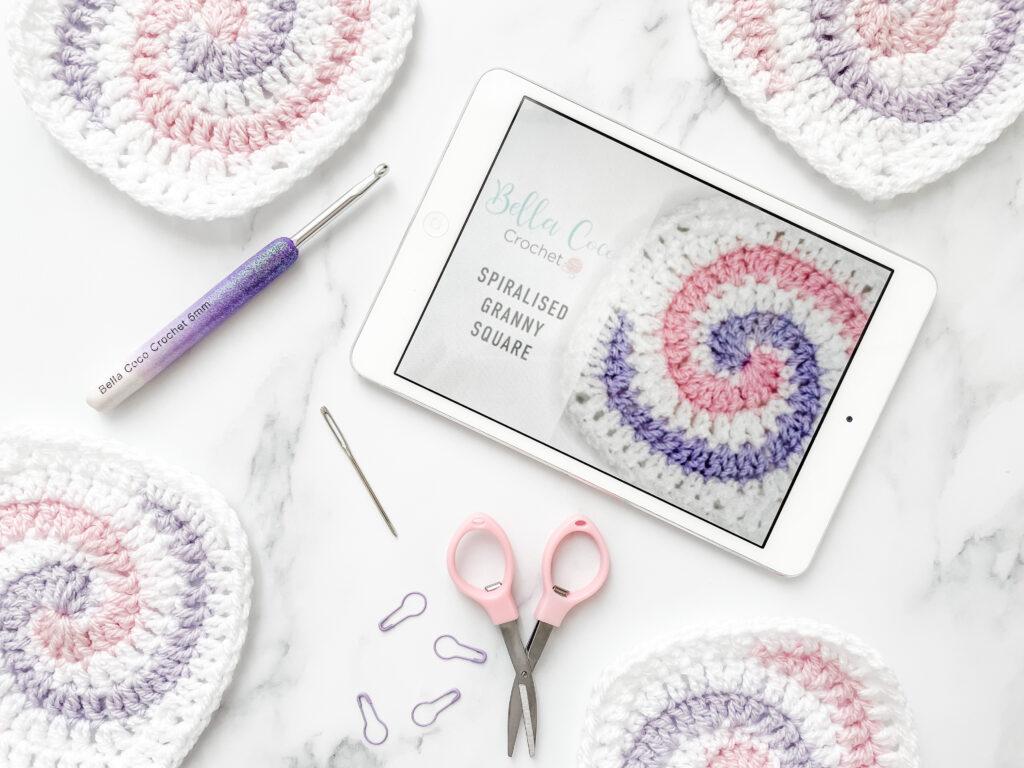 Spiral Granny Square
 Solid Mitered Granny Square
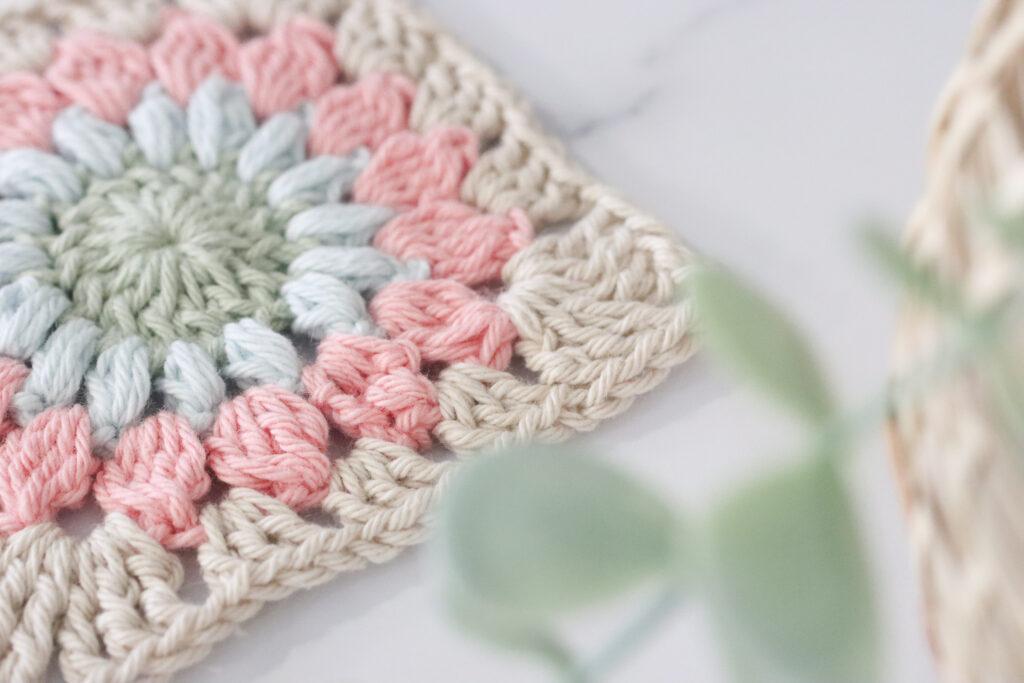 Sunburst Granny Square
I always love to see your makes so if you try any of my patterns or follow my stitch tutorials please tag me @bellacococrochet or use the #bellacococrochet
sarah-jayne
[mv_create key=”14″ type=”diy” title=”Mitered Granny Square” thumbnail=”https://blog2.tcctest.co.uk/wp-content/uploads/2020/08/MITERED-02.jpg”]